Whether it’s in the garden, on the balcony, or on the windowsill, the growing season begins with cultivation. Admittedly, I was a little late this year, starting in mid-March, but that’s plenty of time for most plants. I am now in my third season of growing in my raised bed on the balcony. But especially in the beginning, the whole subject of cultivation seemed incredibly complicated to me. It really isn’t, so I’ve put together my tips for getting started with your own DIY cultivation, including upcycling tips.
Growing your Own Plants is not Expensive or Complicated
Let’s start with the most important thing: you don’t need expensive or specialized equipment. So don’t be tempted to buy expensive grow kits or anything like that. Especially if this is your first year trying to grow your own!
All the supplies you need for your first cultivation:
-
Seeds
Ideally, they should be true to seed (meaning you can take seeds from your mature plant and plant them again the following year) and organic. You can also make sure that you grow and propagate heirloom varieties, for example, to help preserve them. Your town may even have a seed library. You may be able to “borrow” saved seeds that you can propagate throughout the season and return at the end of the season, preferably in triplicate.
-
Cultivation soil
The advantage of using propagation soil instead of regular potting soil is that the lower nutrient content will encourage your seedlings to develop more ramified roots. This will help the young plants absorb nutrients later. Be sure to use peat-free soil!
-
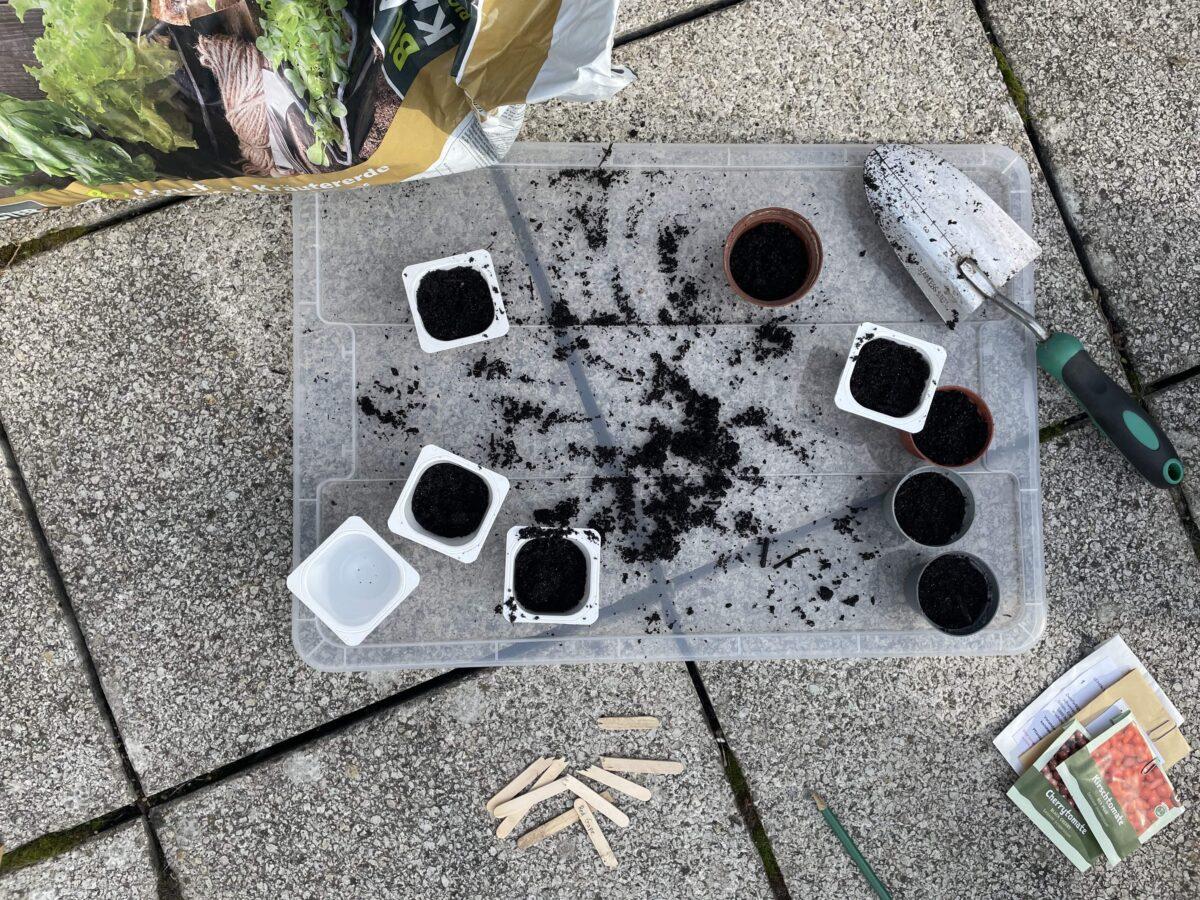
Potties, bowls, etc.
Roughly speaking, you just need something to spread your seeds on. These can be plastic trays, small flower pots from previous plants, or you can make your own pots out of newspaper and a guide from the Internet.
-
Little helpers
– A spray bottle of water will help moisten the soil (and keep it moist) without washing the seeds away. Otherwise, water carefully!
– Ice-cream sticks or small sticks help make holes for seeds that need to be planted deeper. Ice cream sticks are also great for labeling your seeds! It’s best to use a pencil for this! Anything else will smudge over time. Alternatively, you can tape a piece of masking tape to the pot and write on it with a pencil or permanent marker.
– A large spoon and a large bowl to fill the pots with soil and keep the chaos in check (especially if you’re working indoors). -
A plan
What do you want to plant? What can you plant together in a raised bed? And what plants will even fit? It’s best to plan ahead (at least roughly) what you want to plant this year. With a plan for your raised bed or windowsill garden, you’ll know exactly what will fit.
DIY Plant Pots: Upcycling and Recycling
If there’s one thing you don’t need to buy for growing, it’s growing pots. Trust me! You don’t need coconut pots or special containers. You are bound to find something in your household that can be repurposed as a grow pot.
A few ideas:
- Small pots from relocated houseplants
- Trays from balcony plants
- Worn-out yogurt pots. Poke a few holes in the bottom to drain excess water!
- Plastic bowls used for fruit and other food (they usually already have holes in them)
- Toilet or kitchen paper rolls that you close at one end
- Folded newspaper plant pots
- Egg cartons
- Sliced milk or juice cartons
- …
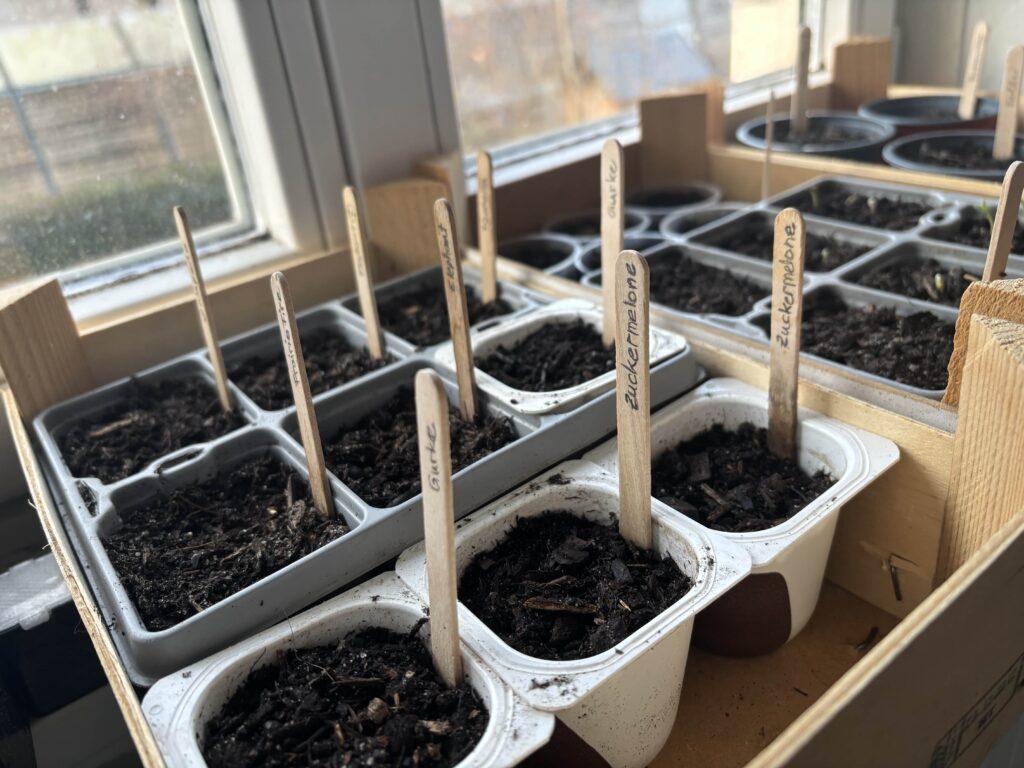
Choose the Right Location for your Cultivation
When you have planted all the seeds according to the instructions on the seed packet, place your baby plants in a bright, warm spot. Keep the soil moist and wait. Depending on the plant, the first green heads will appear in a few days and you can enjoy watching them grow. If you’re impatient, you can make a mini-greenhouse out of clear plastic bags (reused, of course ;). This will help the seeds sprout faster.
By the way: Many young plants do well if they are kept a little cooler after germination. This way they won’t shoot up and will grow more slowly and vigorously.
The Next Steps
Now you have to wait until your plants are ready for the next step. I’ll show you what that is next week. Until then, enjoy the joy and anticipation of going to your windowsill propagator in the morning to see if anything has sprouted 🙂